


Showit and Squarespace are both popular website builders, but they have different strengths and features.
Here are some reasons why Showit is considered better than Squarespace for photographers:
- Drag-and-Drop Flexibility: Showit provides a powerful drag-and-drop interface that allows photographers to create highly customized websites without any coding knowledge. You have complete control over the layout, design, and placement of elements, giving you the freedom to create a unique website that truly reflects your style and brand.
- WordPress Integration: Showit integrates seamlessly with WordPress, which means you can leverage the powerful blogging capabilities of WordPress while still benefiting from Showit’s design flexibility. This combination allows photographers to have a visually stunning website with a robust blogging platform.
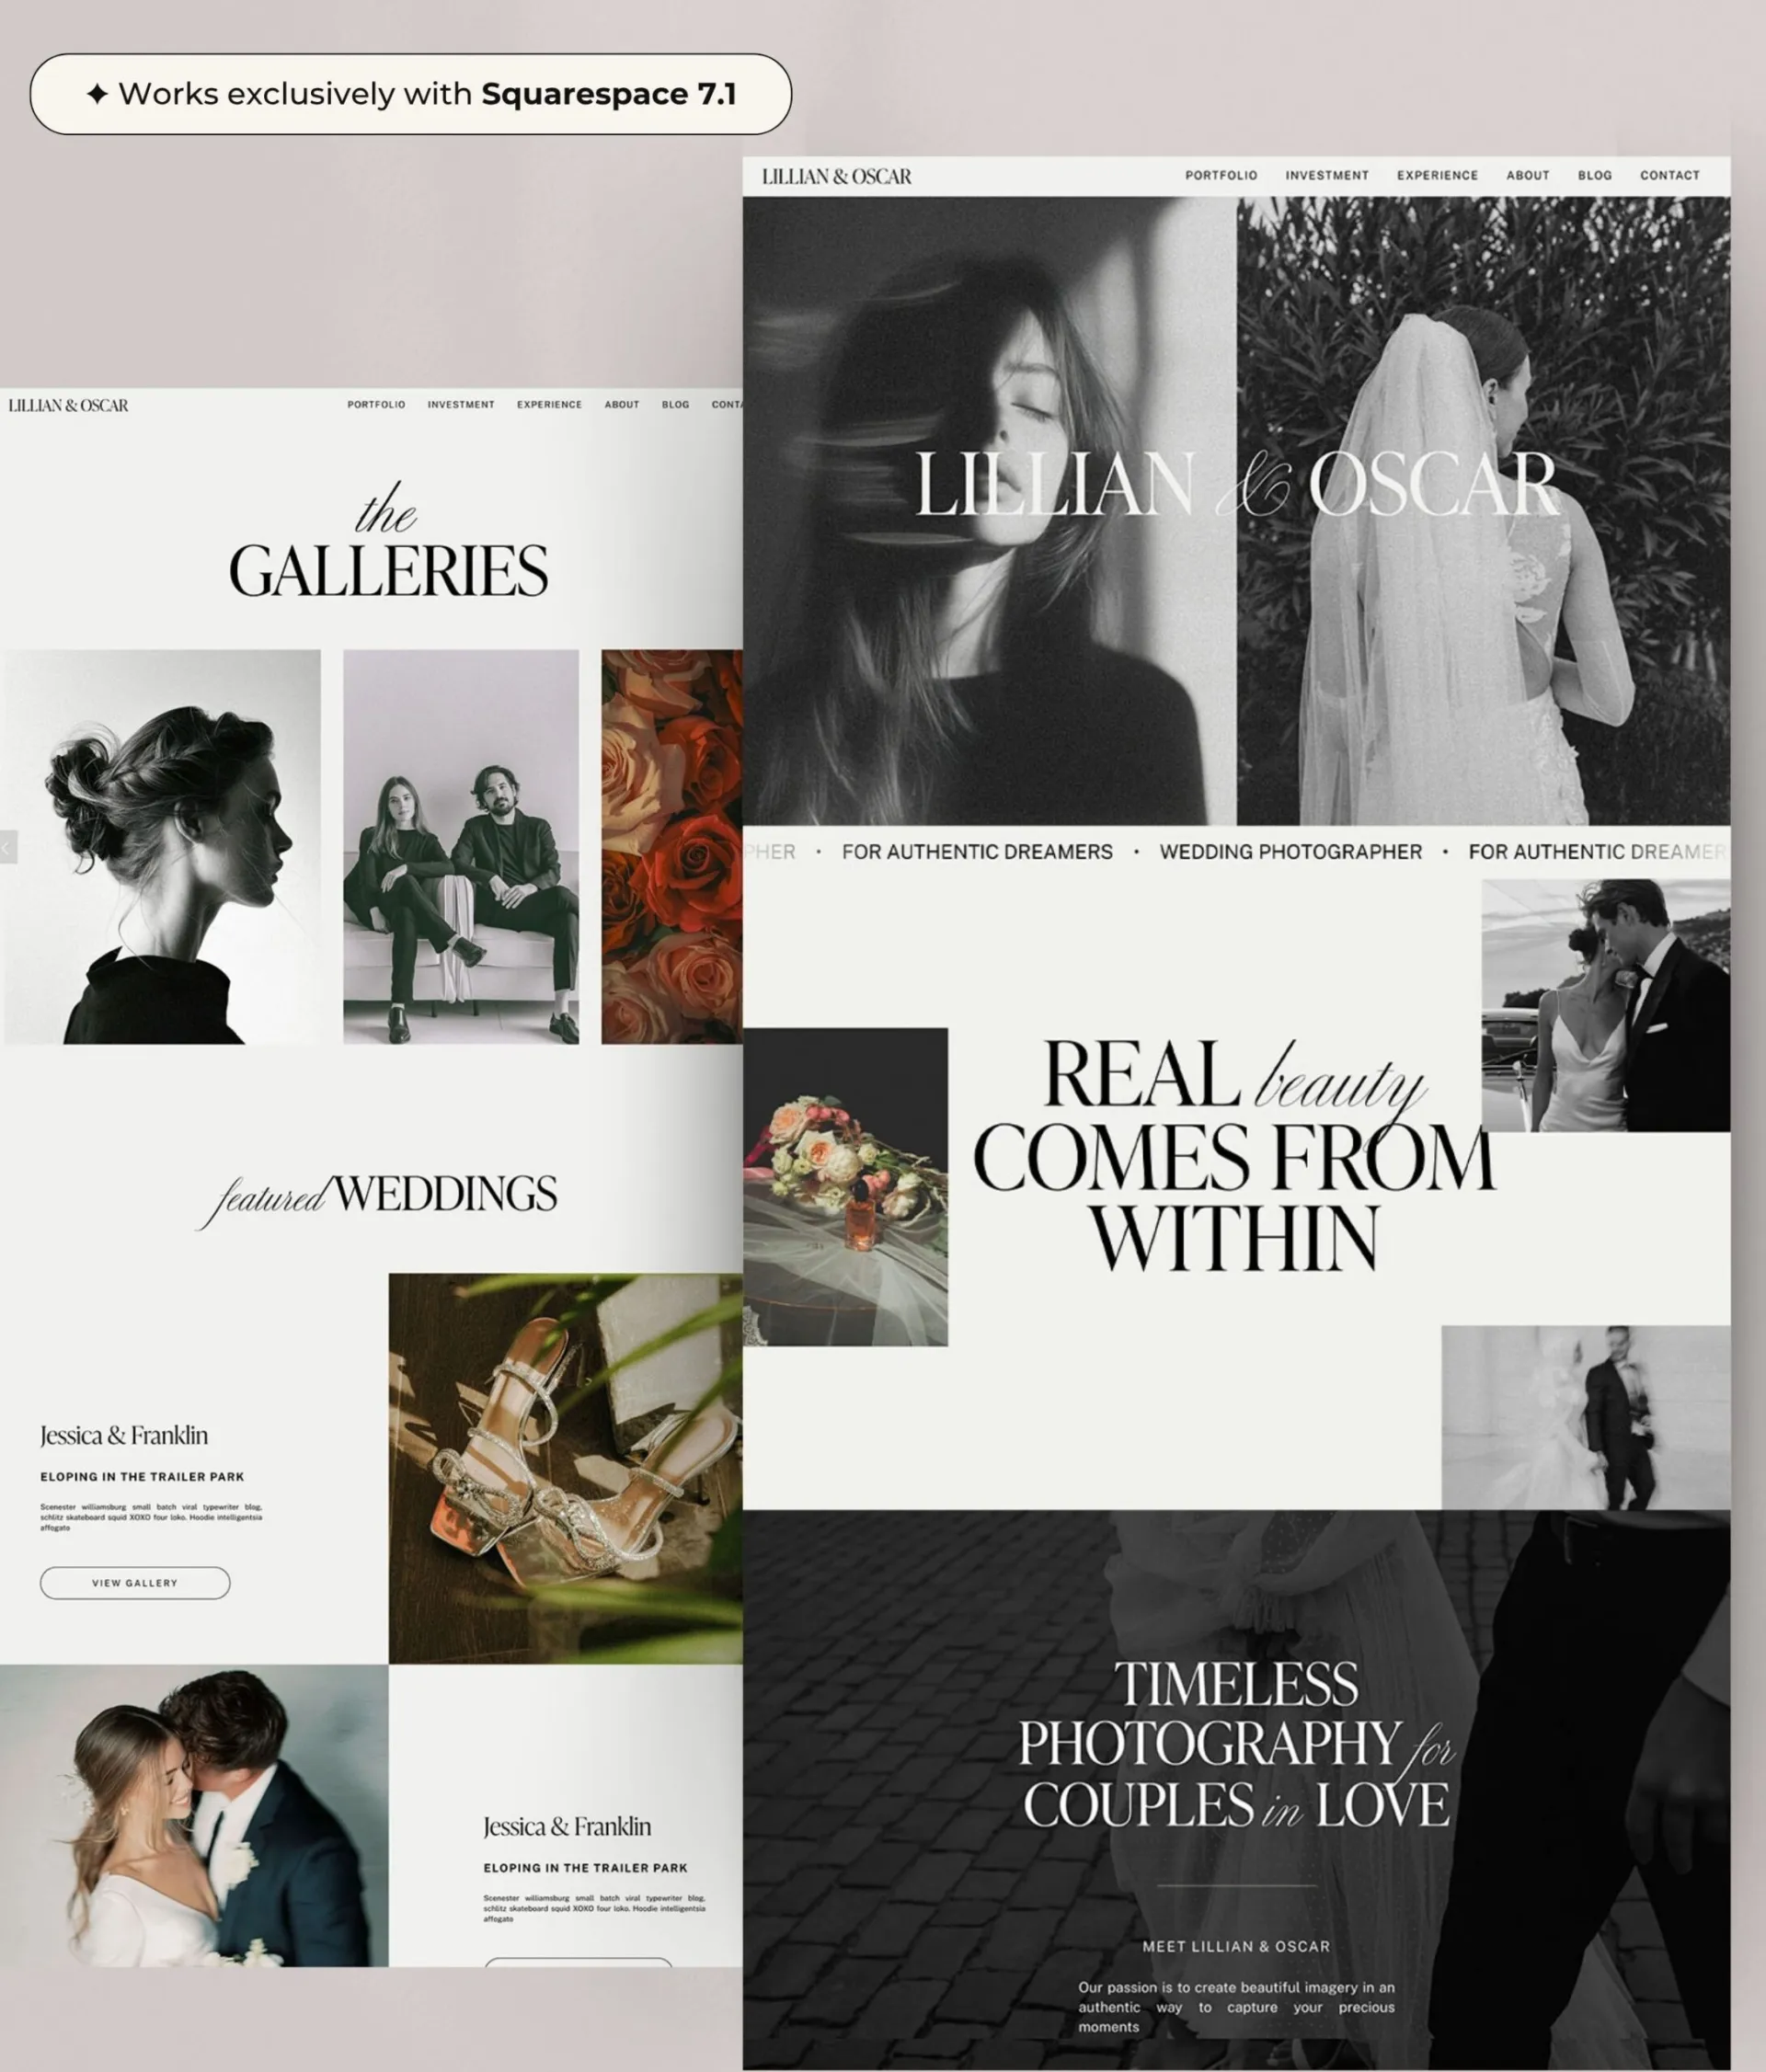
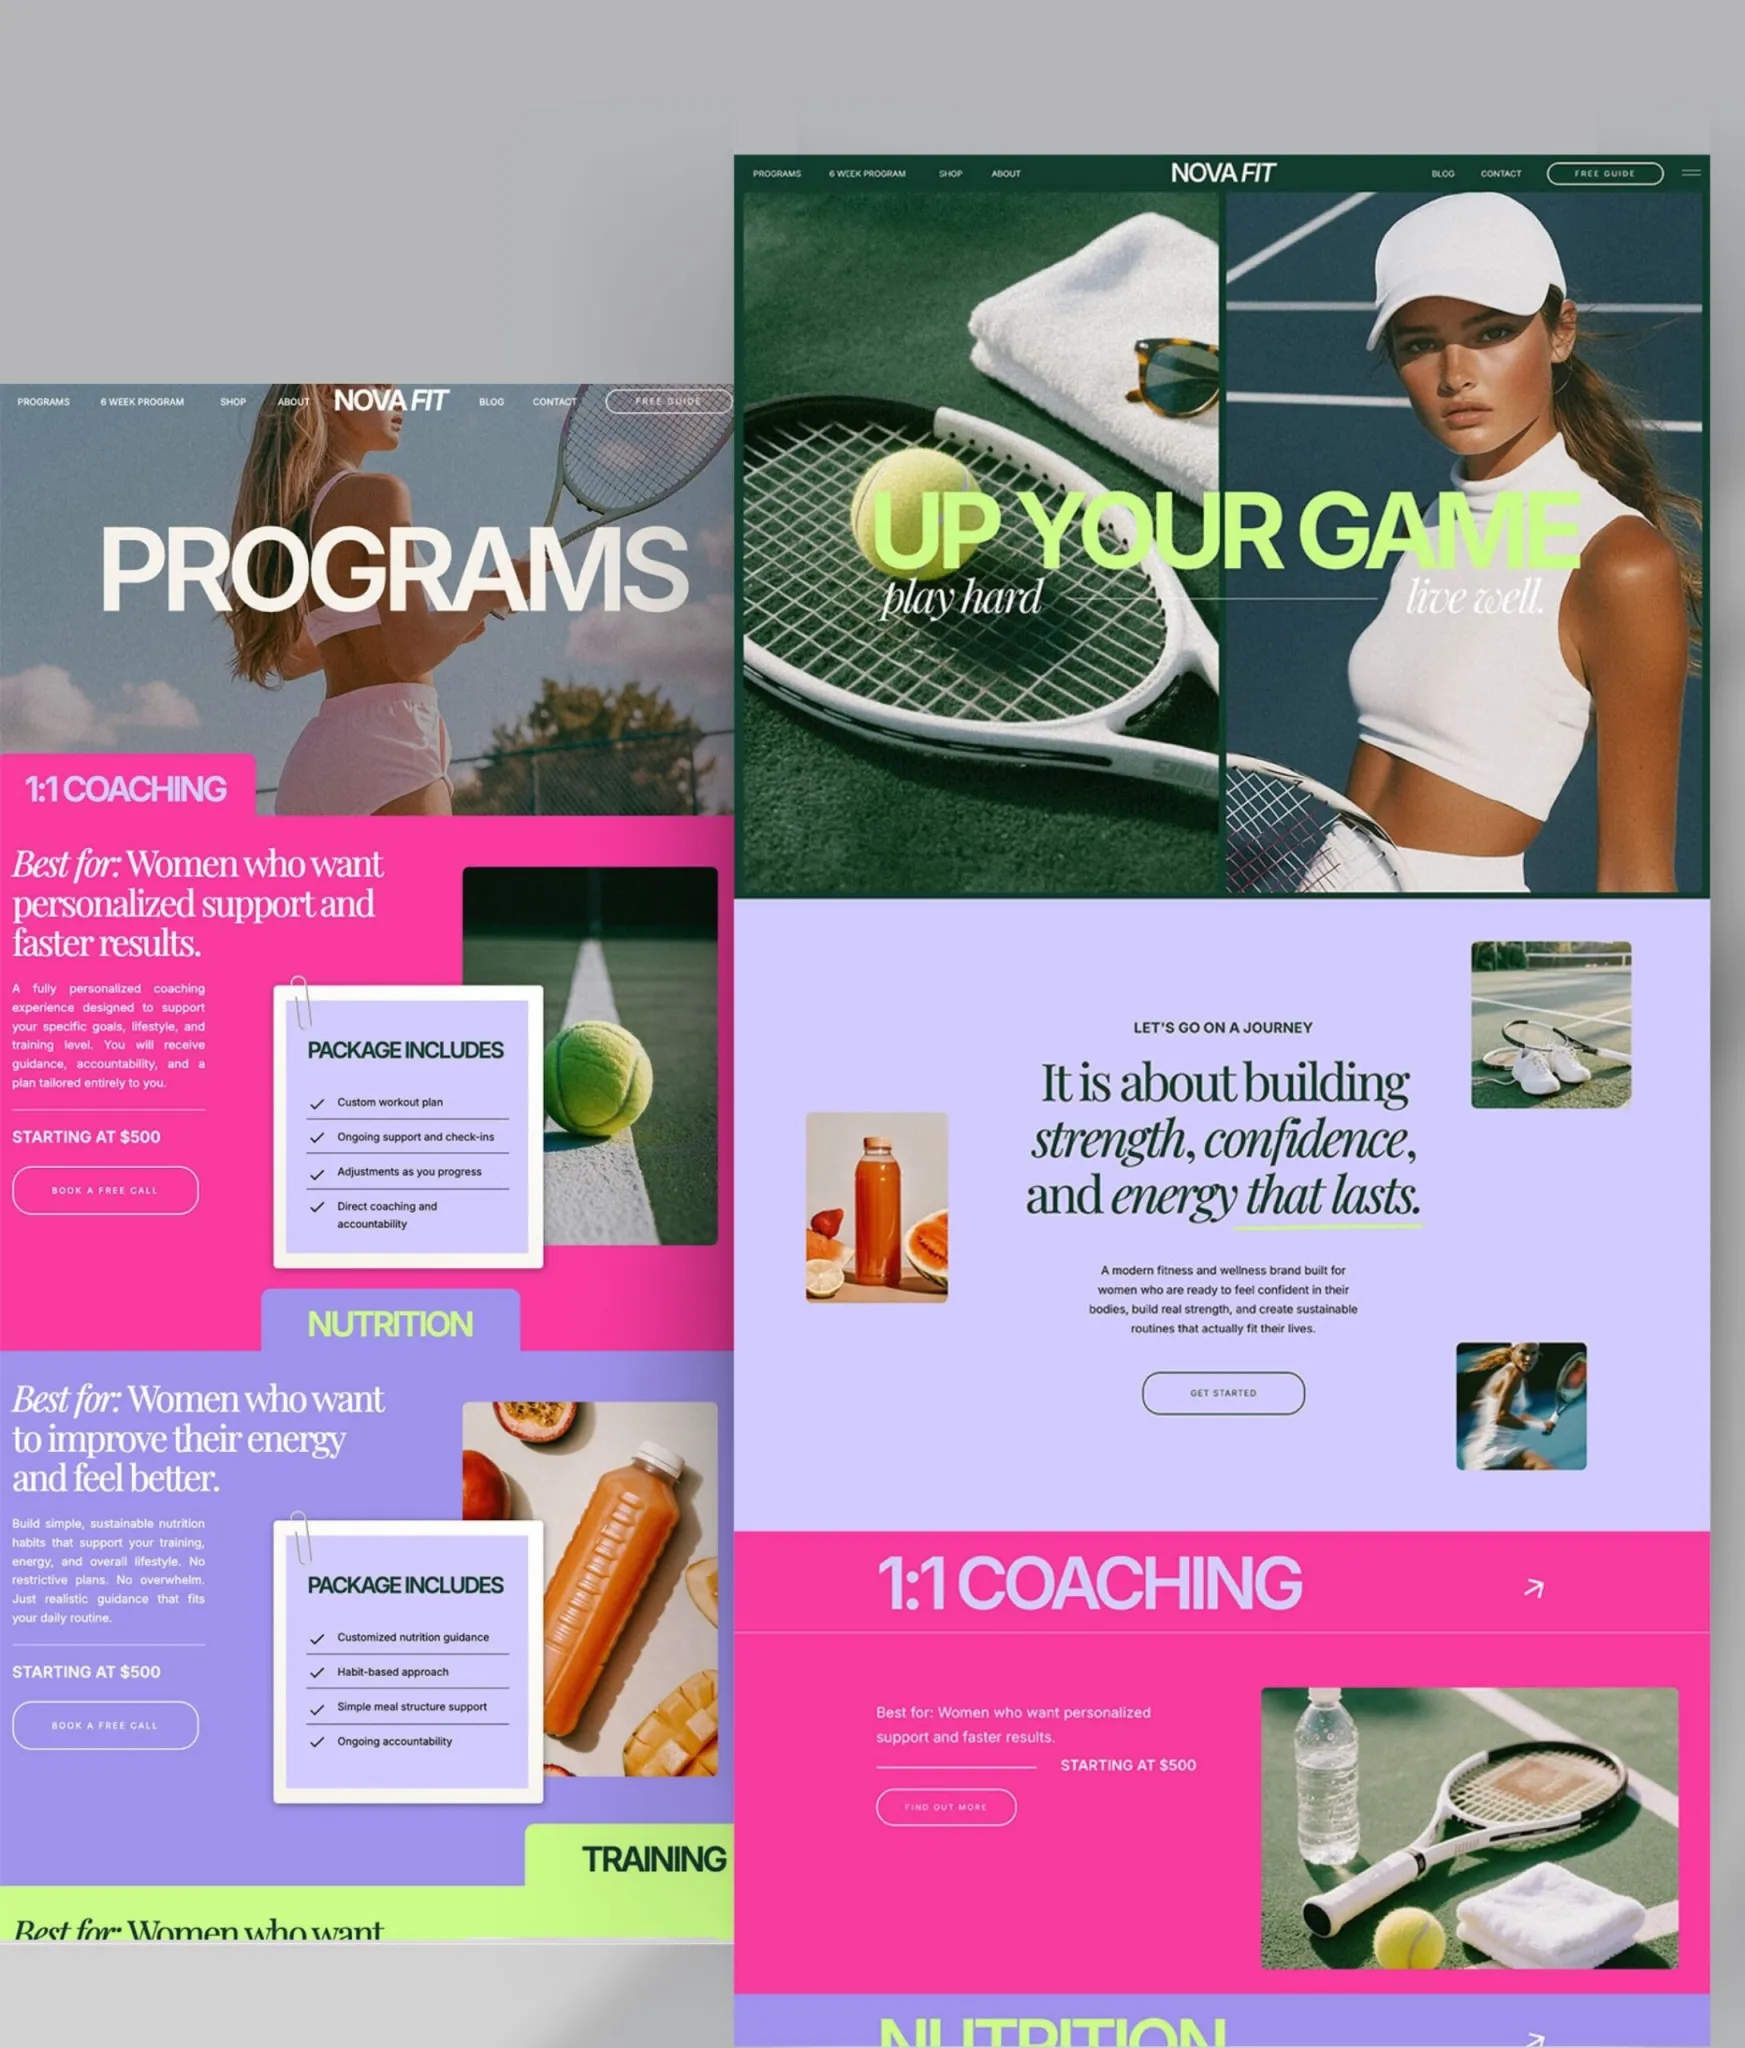
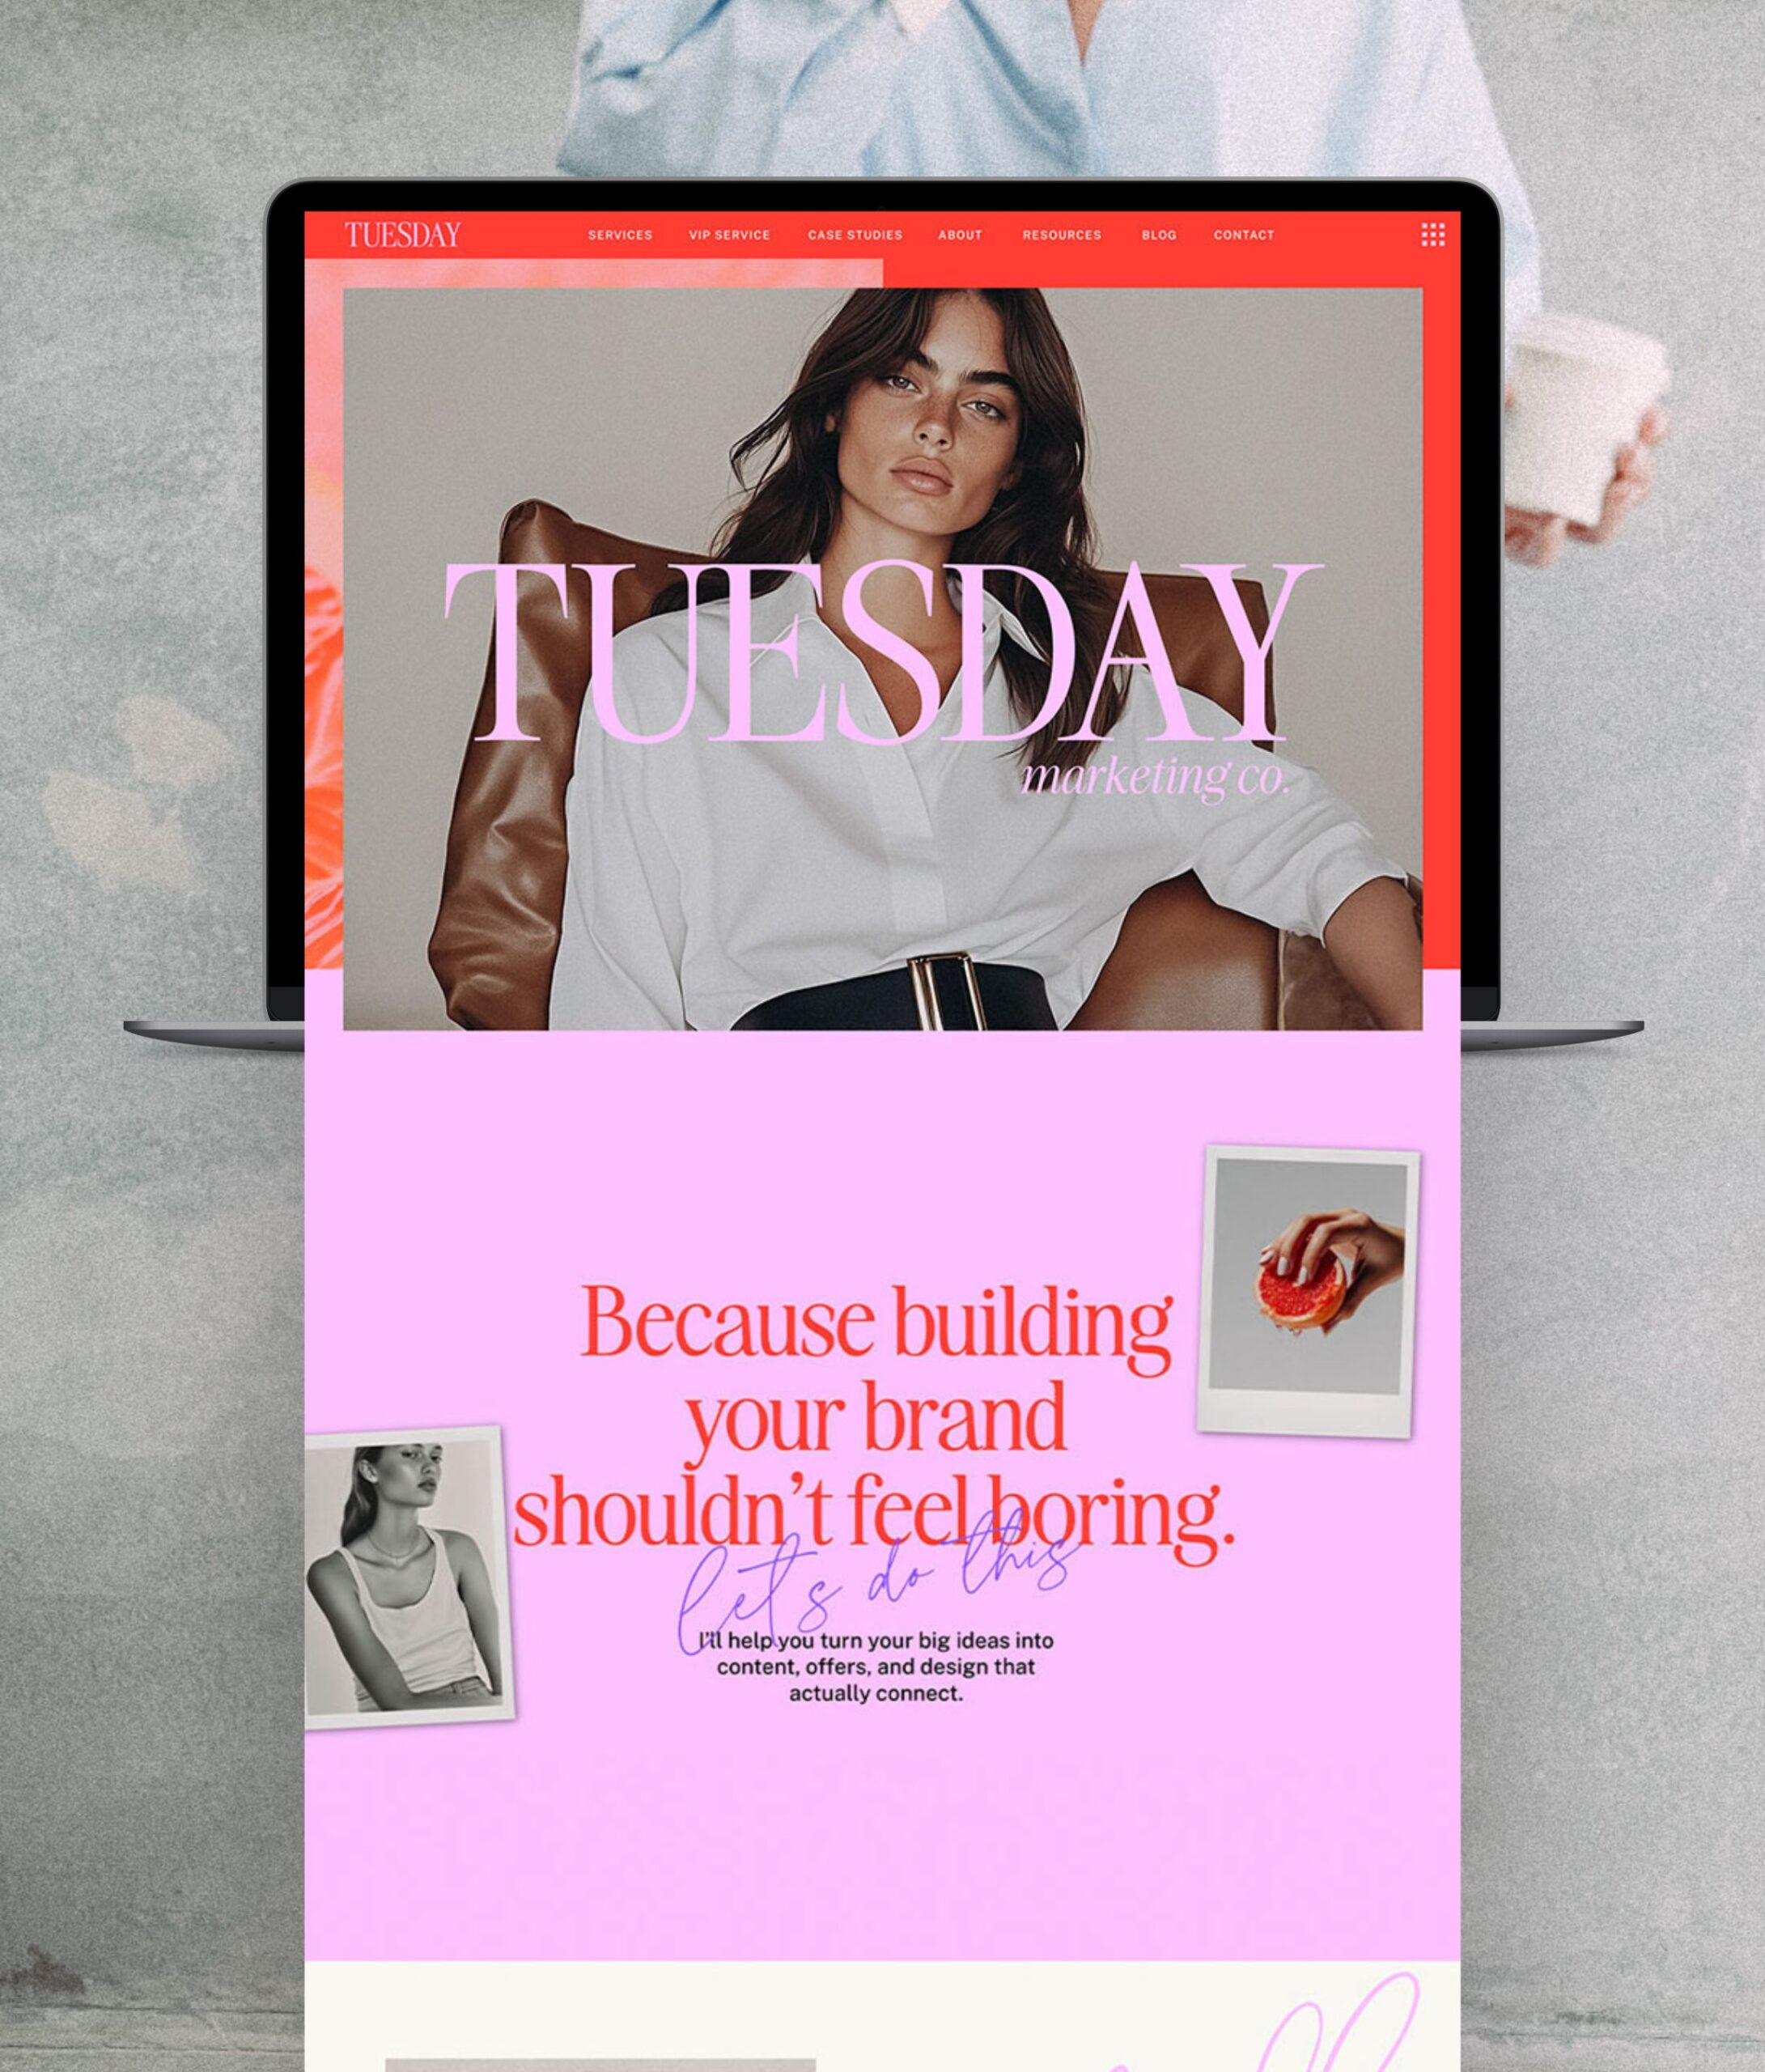
- Design Freedom: Showit offers complete design freedom, allowing you to create a website that matches your artistic vision perfectly. You can create unique page designs, galleries, and portfolios that truly showcase your photography in a visually stunning way. Squarespace, on the other hand, has predefined templates with limited customization options.

- Mobile Responsiveness: Showit excels in mobile responsiveness, ensuring that your website looks great on all devices, including smartphones and tablets. With Showit, you have complete control over the mobile version of your website, allowing you to create a tailored and optimized experience for mobile users.

- Collaborative Workflow: Showit provides a collaborative workflow, allowing photographers to work with designers or teams easily. You can grant access to specific sections of your website and collaborate on design changes without sharing your entire account credentials.
- SEO-Friendly: Showit allows you to optimize your website for search engines. You can customize page titles, meta descriptions, URLs, alt tags, and more to improve your website’s visibility and search engine rankings. Squarespace also offers basic SEO features, but Showit provides more flexibility in optimizing your website for better search engine performance.
It’s important to note that both Showit and Squarespace have their own merits, and the choice ultimately depends on your specific needs and preferences.
Consider trying out demos or free trials of both platforms to determine which one aligns better with your goals as a photographer.

Melissa Lunt is the founder of Superhero Design, a template shop specializing in high-converting Showit website templates for coaches, photographers, and creative entrepreneurs. With over 10 years of experience designing brands and websites, she helps business owners launch beautiful, strategic sites without the designer price tag or tech stress. Melissa is passionate about creating handcrafted templates that don’t just look custom—they actually book clients. When she’s not designing, you’ll find her drinking coffee, spending time with family and exploring the outdoors.
Explore Showit templates and launch resources at superherodesign.co.


Comments +