So you’ve purchased a Showit website template – yay! How in the world do you get it into your Showit account and start editing that website?
Well don’t worry because I’m going to show you exactly how to do that in this tutorial!
If you are more of a “video person” like me, then just watch this video below. In fact you can find all of my tutorial videos here on my Youtube channel.
My name is Melissa of Superhero Design and I help ambitious women launch bold brands online. Well let’s get to it!
After you’ve purchased your Showit website template, you will most likely be provided with PDF or a document containing your site key.

This is what my PDF looks like that has my free Showit website template as a reference. If you would like a free Showit website template, please head over to this link.
Follow these simple steps in order to add your purchased template to your Showit account and start editing your Showit website:
- Go to your Showit account and make sure you are logged
- Click on your name on the bottom left
- Click on create a new design

- Click on your designs tab

- Add design to library

- Paste in the key that you’ve been provided and click on enter

- Okay so it gives you a preview of the website

- Click on Add Now
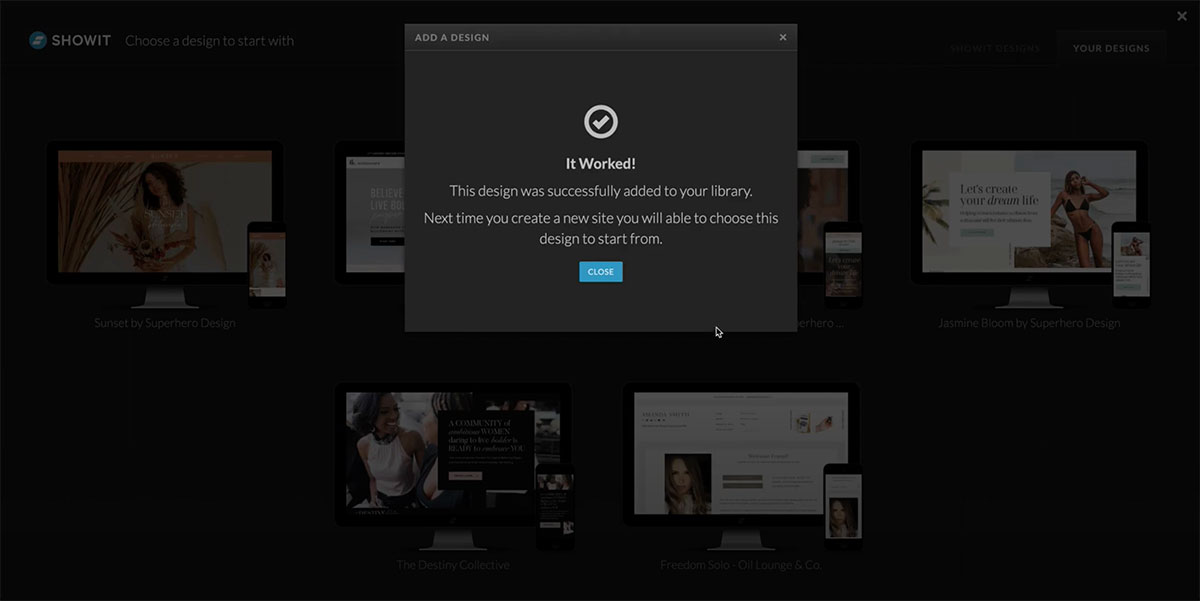
- Cick Close
Again this is my free website template that I offer so here’s a preview it’s successfully added so you click on clothes and then
- Select the image thumbnail of your Showit website template under the “your designs” tab

- Click on start with this design
So now you have created a website using your showit website template and that’s it!


Comments +