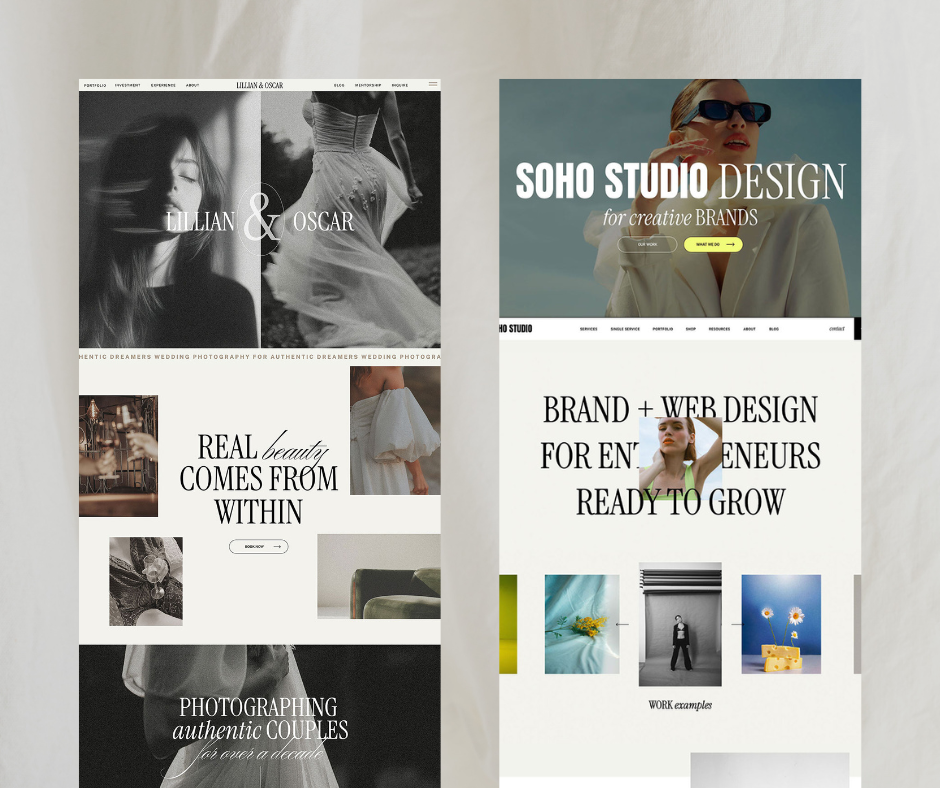
Are you struggling to edit text that appears when you hover over elements in your Showit website template? Don’t worry, I’ve got you covered! In this tutorial, I’ll walk you through the process of easily editing hover text within your Showit canvas. Let’s dive in!
Hi, I’m Melissa, the creator behind bold brands for ambitious women online. Today, I’ll show you how to effortlessly edit the text that appears when you hover over elements on your Showit website template. Let’s jump right into the tutorial!
Step 1: Accessing the Canvas: Begin by previewing your site to identify the element with the hover text you want to edit. Once identified, click on the canvas associated with that element. For instance, let’s say we’re working with the “Services” section.

Step 2: Selecting the Targeted Text: Within the canvas, locate the specific text element you wish to modify. In our example, let’s select “Number One.” On the left-hand column, you’ll find a list of items under the “Services” tab, representing elements within the canvas.
Step 3: Adjusting the Layered System: Notice that the text elements may not appear editable initially, as they might be positioned behind other elements, such as photos. To change the text, simply drag the text element above the photo element in the layering system.

Step 4: Editing the Text: Now that the text element is in front, you can easily edit its content. Double-click on the text box to input your desired text. For instance, you can provide details about the service or any relevant information you want to display.
Step 5: Restoring the Layering and Previewing: After editing the text, ensure that it remains positioned beneath the photo element to maintain the hover effect. Once done, preview your changes to see the updated text in action.

There you have it! You’ve successfully edited the text that appears when hovering over elements on your Showit website template.
By following these simple steps, you can customize your website’s hover text with ease, providing your visitors with informative and engaging content.
Feel free to explore further customization options and experiment with different text styles to enhance the visual appeal of your website.
Thank you for joining me in this tutorial! I hope you found it helpful in mastering text customization within your Showit template.
And that concludes our tutorial! Happy editing! ?


Comments +